

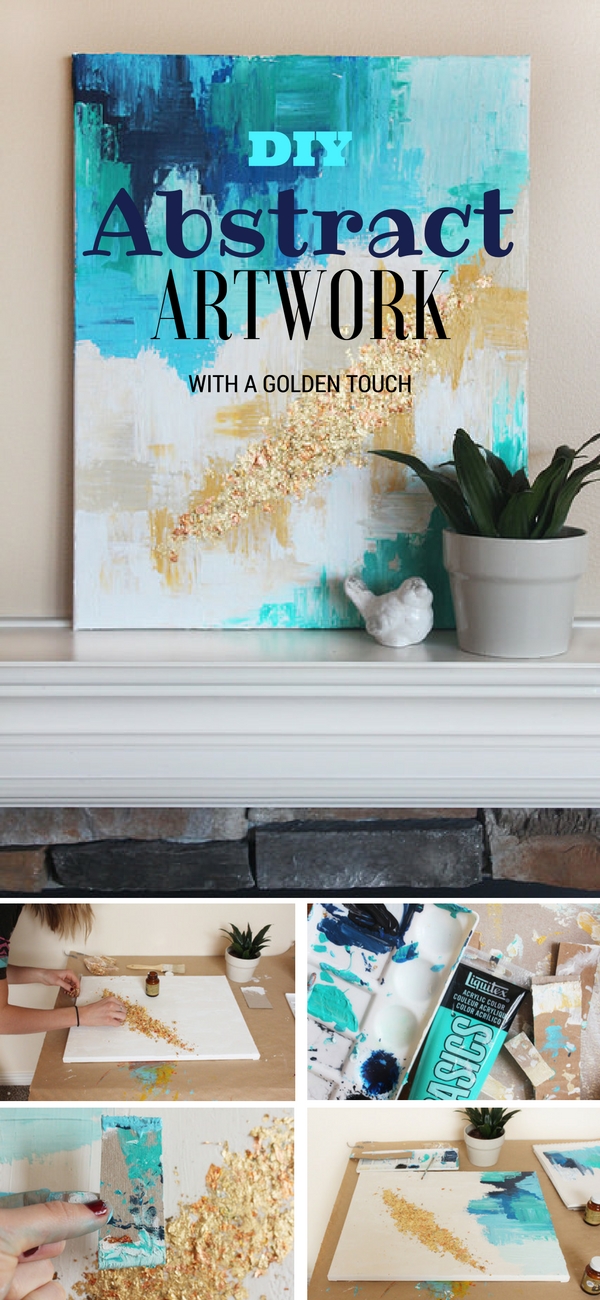
How To Do Abstract Acrylic Painting
DIY Abstract Art tutorial. Learn how to paint an abstract painting with acrylic paints and a step by step tutorial. Easy Beginner Level Abstract painting Guide.
Hi, it's Ashley from Star and Arrow Designs! I'm so excited to share this DIY abstract art tutorial with you guys, an abstract piece to add a vibrant and textured pop to your home. I wanted to do a piece that ANYONE could do. I am a perfectionist and for that reason, have a hard time letting go to create abstract artwork.
I was painting with my toddler last week, and in 30 seconds he created a beautiful impasto painting. News flash. Looked like I needed to learn a lesson or two from him: let the fun messy part of art take over.
For more art ideas:
- 13 More Creative Abstract Wall Art Ideas
- DIY Graffiti Kitchen Island Art
- Easy Watercolor Flower Tutorial
Supplies to Paint a DIY Abstract Art Canvas Tutorial:
So, here we are, a messy, random and colorful painting tutorial. This was one of my first dips into abstract art AND acrylic paints, so it is by no means perfect, but the process is a fun one! Here it is:
These supplies contain affiliate links for your convenience. When you make a purchase after clicking an affiliate link, I will earn a small commission at no additional cost to you. I am disclosing this in accordance with the Federal Trade Commission. I only recommend products that I personally use and genuinely recommend. Thank you for your support!
- Butcher (or wrapping paper).
- Canvas (16×20 size).
- Texture: This is an optional step, but I recommend using an acrylic gesso to cover your canvas and/or a modeling paste to add some extra texture.
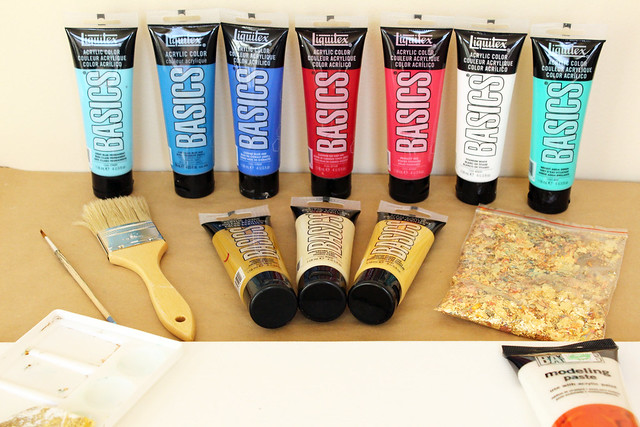
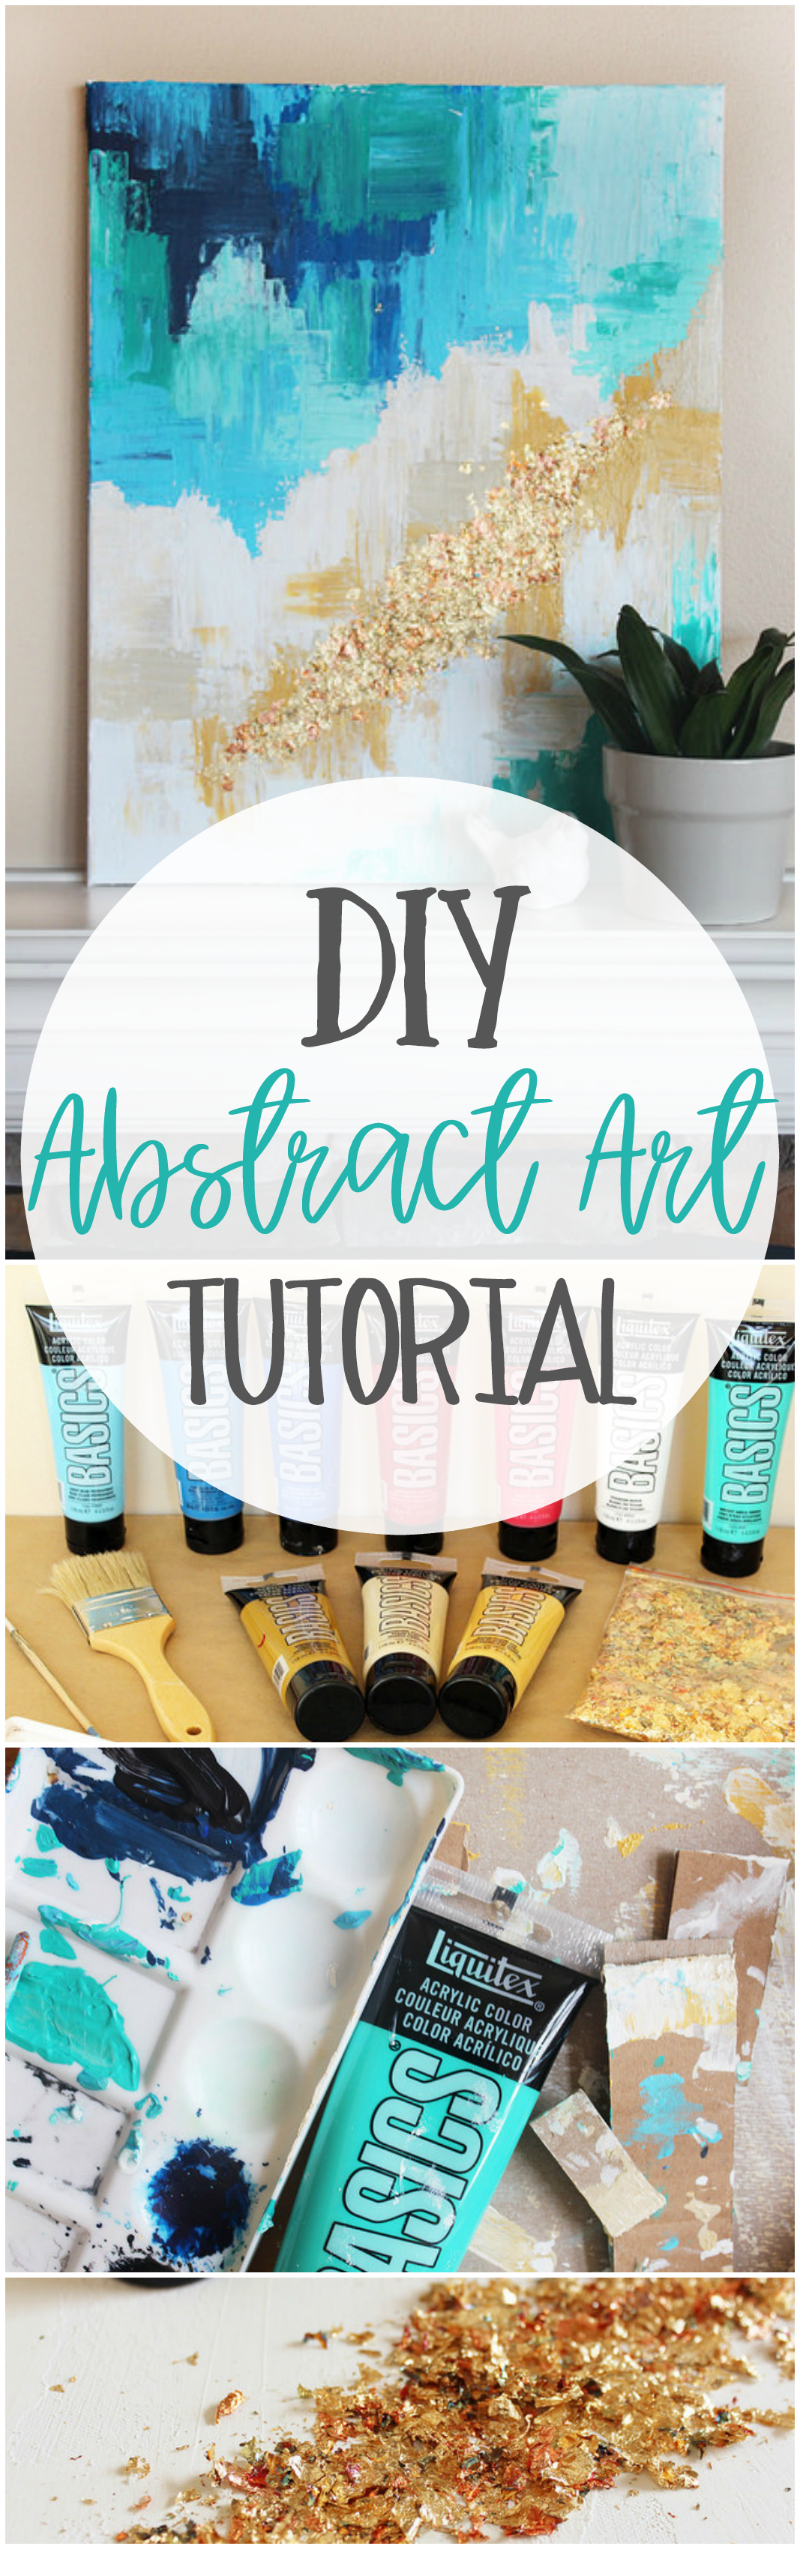
- Paint: Liquitex Acrylic paints (I already had mine on hand, but here is a great "starter kit" here).
- Brushes: large painters brush, pieces of chipboard or cardboard for applying paint.
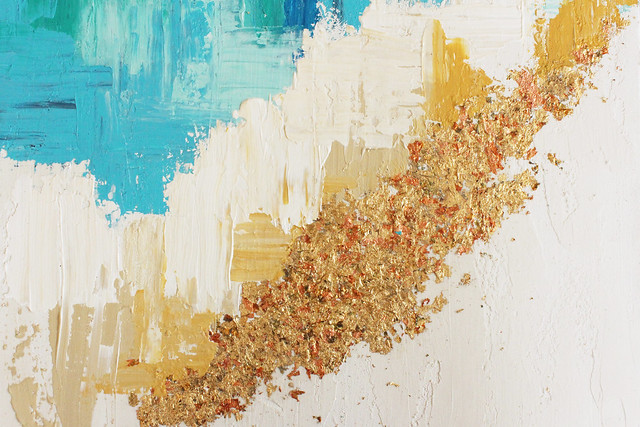
- Gold Foil Flakes: I used foil that had a variation of shades & color.
- Elmer's glue or if you are feeling fancy, Mona Lisa metal leaf adhesive & sealer.
How to paint an Abstract Art Canvas
I set up shop by covering my table with butcher paper. This project WILL get messy so I recommend covering everything you don't want paint splattered.
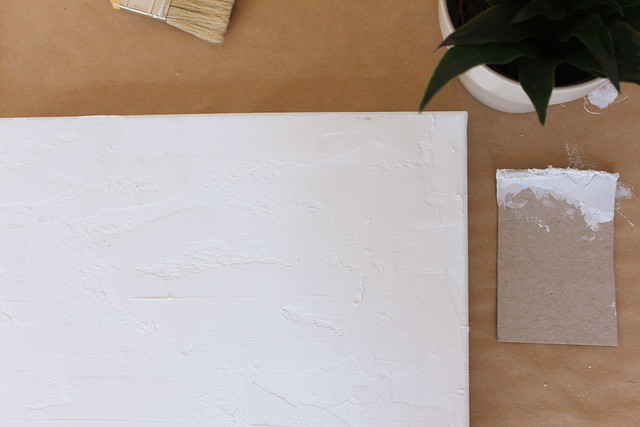
This first step is optional, but I think it adds a great base to your piece – Paint acrylic gesso over the surface with a thick painter's brush. This covers the woven canvas texture. Generously add globs of modeling paste onto the canvas. Use a cut strip of chipboard to level out the paste. Be sure to cover the surface of the canvas, but this is meant to build up the texture. Be sure to let this dry before moving to the next step.
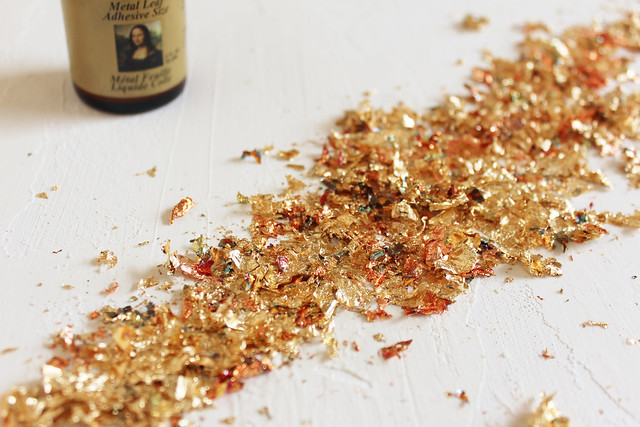
Once you decide where you would like your gold leaf, use a small paintbrush to apply a thin layer of Elmer's glue or Metal leaf adhesive onto the canvas. Wash your brush immediately with warm soapy water.

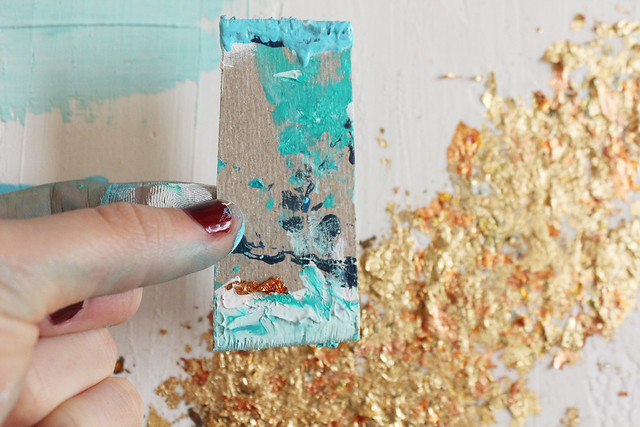
Apply the gold leaf flakes (I used my fingers) in a thick layer to the glue. There isn't much rhyme or reason to this part. You will be adding a second layer after painting, so don't fuss too much about it being perfect. If you are using a sealer, wait for the glue/adhesive to dry before using your brush again to paint it over the flakes. The sealer will flatten and coat the gold leaf. You can watch a time-lapse video of the process here.
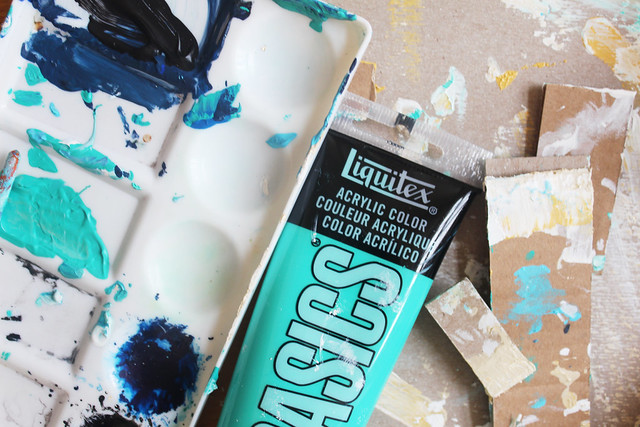
Next, create a color sample. You may have figured out what colors you want to use, but doing a "practice run" will help you figure out how you want to put them all together. I like to do this on a piece of sketchbook or scrap paper.
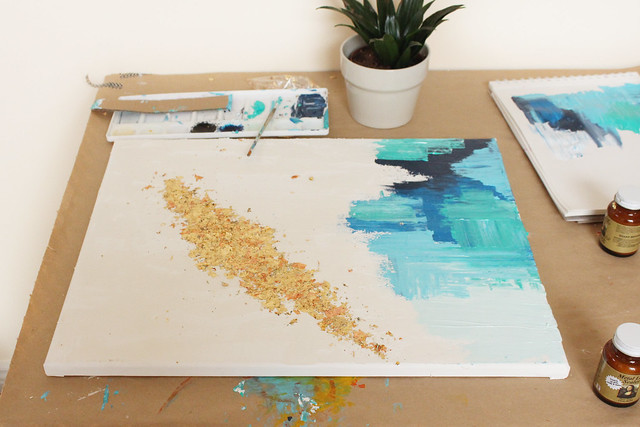
Then, start painting! I squeezed globs of paint directly to the canvas and used pieces of chipboard (cardboard) to lightly stroke down the paint. You can also apply the paint to the chipboard and apply it that way. This keeps the paint thick and easy to blend. It also keeps that yummy thick texture without showing the white canvas or brush strokes.
I had a few different chipboard pieces for my different colors but found that I liked keeping the chipboard pieces a little messy because it blends in different colors. Don't worry about balancing all the colors. In fact, I think the abstract wall art looks best when it isn't balanced perfectly.
Painting an Abstract Art Canvas tips:
- Layer, layer, layer. This paint is all about layers and layers add dimension.
- Blend when it is wet, layer when it is dry.
- Step back or even take a picture of your progress and look at it. I find this helps me see funky spots that need more color or touching up.
- Get a second perspective.
- React to the gold foil- I used thin pieces of chipboard and really tried to respond to the gold flakes, and used the shape of the gold foil to shape my painting. Beauty in randomness!
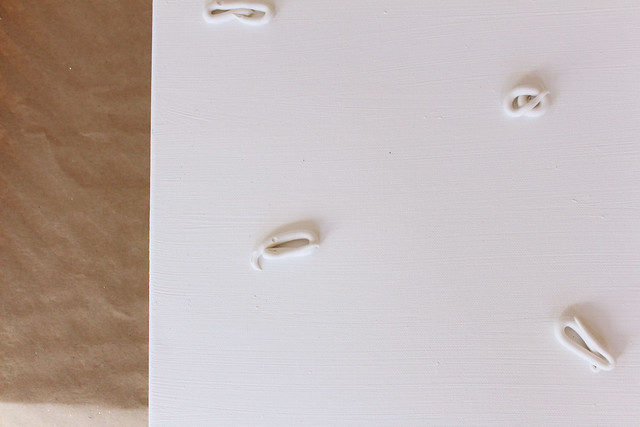
Once your paint has dried, you may want to add some more gold leaf. Same steps as above, apply the glue/adhesive and then the flakes. I scattered a couple flakes over the paint to add some more dimension.

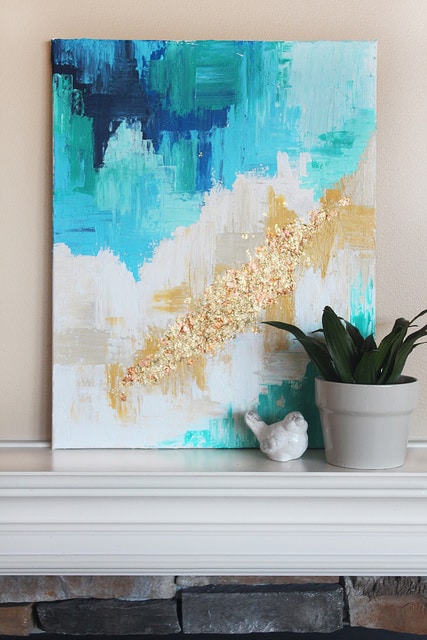
Voila! I think there are a couple spots I may layer some more, but overall, I am happy with how this project turned out. Like I said, I am a total newbie when it comes to abstract art, but I loved this project! It's cheap and easy. Once you get started, it's fun to get crazy with it. XO, Ashley
Looking for ways to display your new art? We love Minted's perfect frames, oooh la lah!
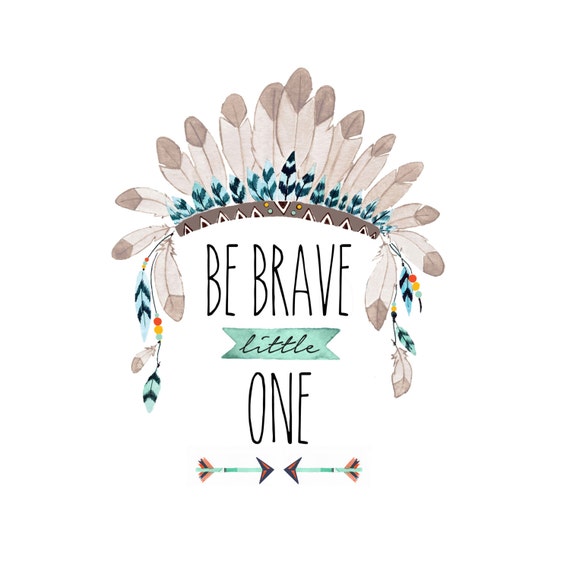
Keep up with Ash on Insta, Facebook and her cute Etsy shop full of adorable prints like this tribal nursery art,
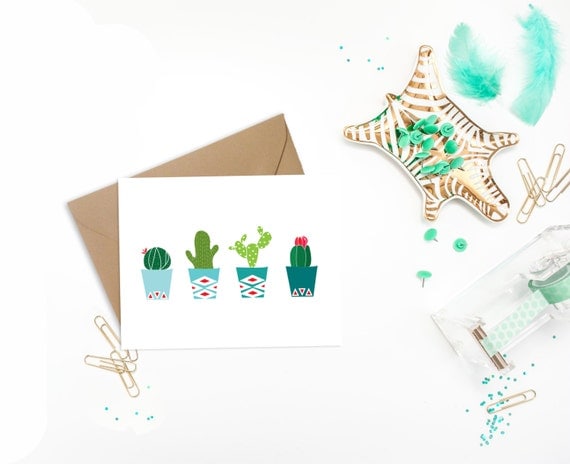
and this adorable potted cactus card!
Also visit more of our home decor ideas like our potted succulent mason jar holder,
.jpg)
and this awesome industrial message board!
How To Do Abstract Acrylic Painting
Source: https://lollyjane.com/diy-abstract-art-golden-touch/
Posted by: jonesmucconothave.blogspot.com
0 Response to "How To Do Abstract Acrylic Painting"
Post a Comment